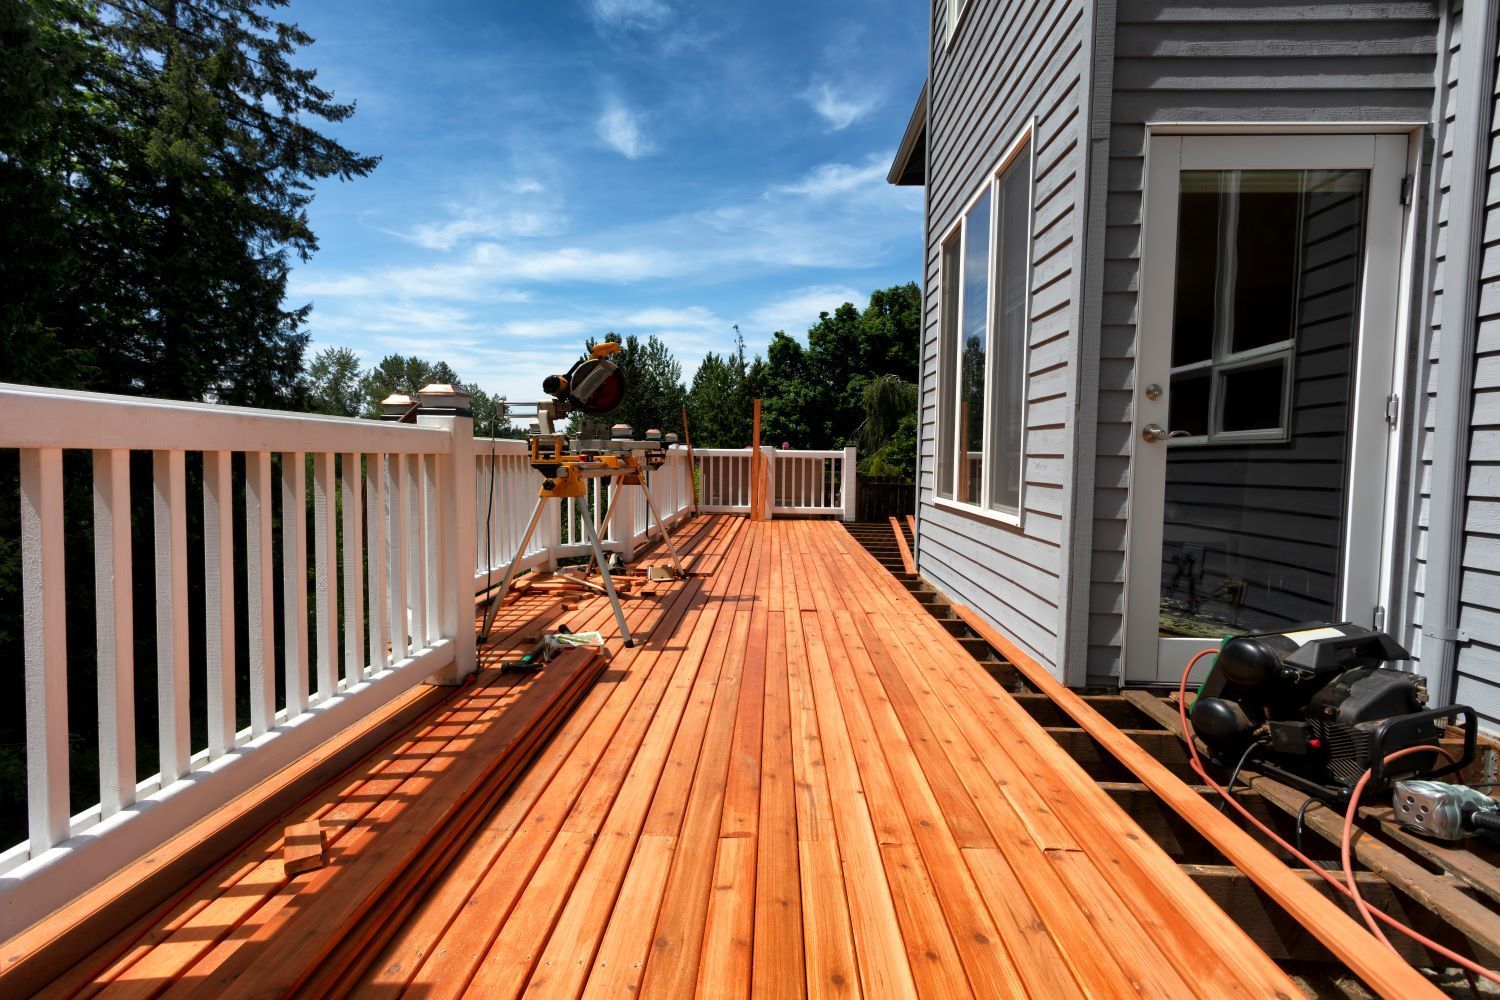
Step-by-Step Guide to Deck Surface Refinishing

Is your deck looking a little worse for wear? Over time, exposure to the elements can take a toll on even the sturdiest decks. Refinishing your deck not only restores its appearance but also extends its life. If you’re in London, Ontario, and looking for expert help, Deck and Fence London is here to assist. Here’s a comprehensive step-by-step guide to deck surface refinishing to get you started.
Step 1: Assess the Deck’s Condition
Before beginning the refinishing process, assess the condition of your deck. Look for:
- Loose or damaged boards
- Nails or screws that have popped out
- Rot or mold
- Peeling or flaking finish
Addressing these issues first ensures a smooth refinishing process.
Step 2: Clean the Deck Thoroughly
A clean surface is crucial for a successful refinish. Here’s how to do it:
- Remove Debris: Sweep away leaves, dirt, and other debris.
- Wash the Deck: Use a power washer or a garden hose with a high-pressure nozzle. For stubborn grime, use a deck cleaner or a mixture of water and mild detergent. Scrub with a stiff brush.
- Rinse: Ensure all cleaner residue is thoroughly rinsed off.
Allow the deck to dry completely, which may take a couple of days depending on the weather.
Step 3: Sand the Surface
Sanding is essential for removing the old finish and smoothing the wood:
- Choose the Right Sandpaper: Start with coarse-grit (60-80) to remove the old finish, then use finer grit (120) for smoothing.
- Use a Sander: A belt sander or orbital sander will make the job easier and more even. For hard-to-reach areas, use a hand-held sanding block.
- Sand with the Grain: Always sand in the direction of the wood grain to avoid scratches.
Vacuum or sweep away the sanding dust and wipe the surface with a damp cloth to ensure it’s clean.
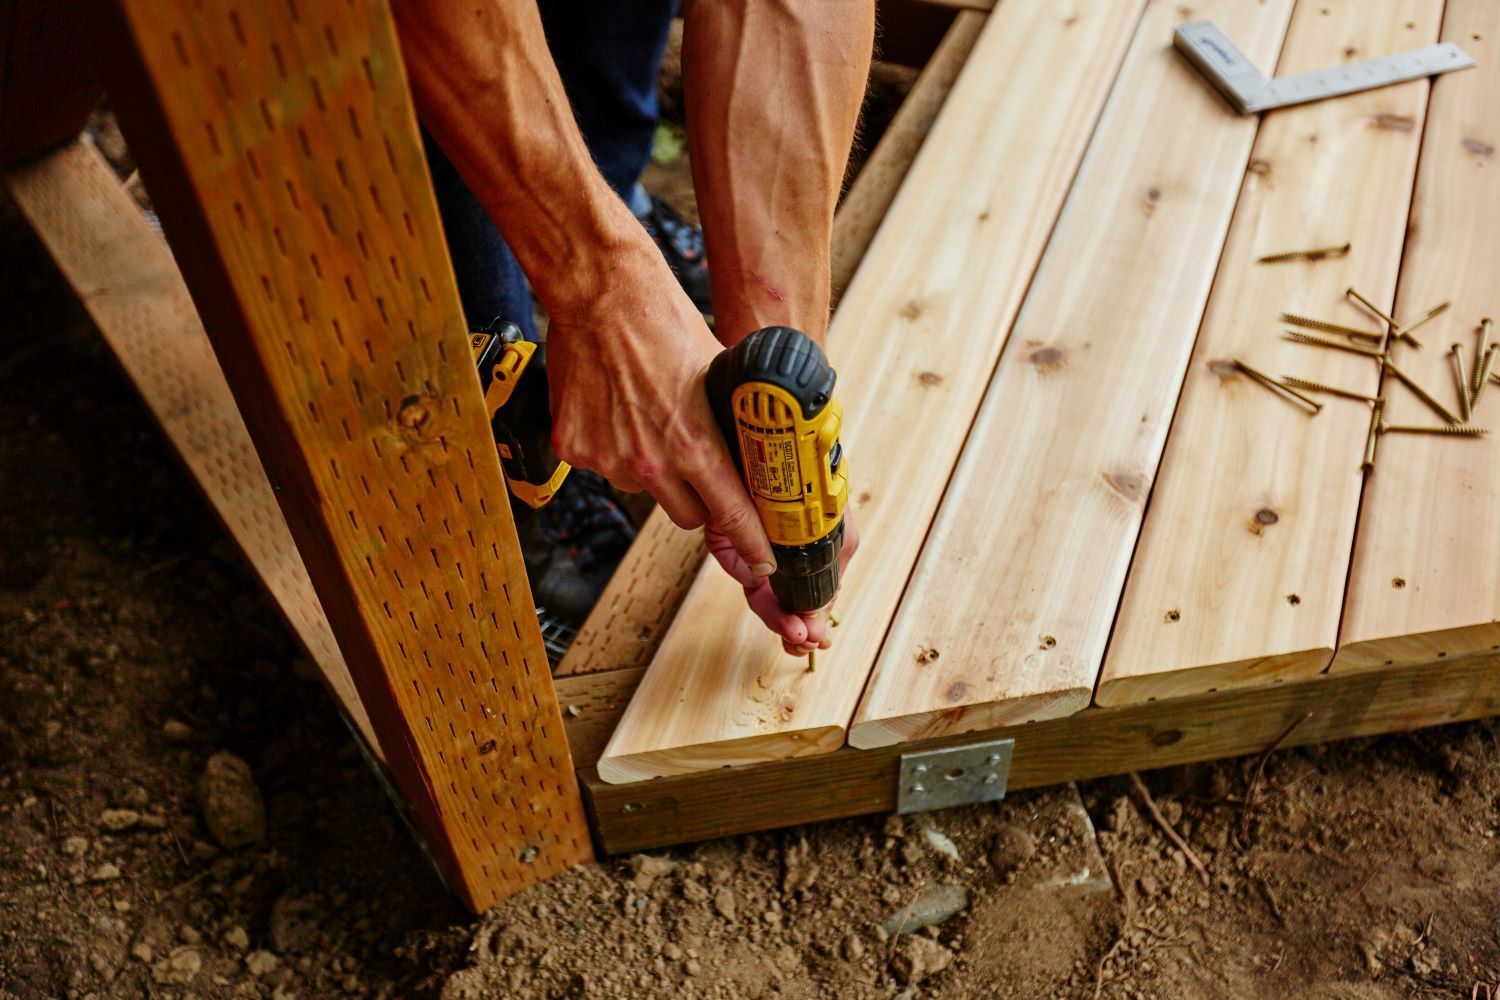
Step 4: Repair and Replace
Check for any issues that need fixing:
- Tighten Fasteners: Secure loose screws or nails. Consider replacing them with deck screws for better hold.
- Replace Damaged Boards: Swap out any boards that are too damaged to repair.
Step 5: Apply a Wood Brightener
A wood brightener helps restore the wood’s natural appearance and prepares it for staining:
- Mix and Apply: Follow the product instructions for mixing and application. Use a pump sprayer for even coverage.
- Rinse Thoroughly: After allowing the brightener to sit as directed, rinse the deck thoroughly and let it dry completely.
Step 6: Choose the Right Finish
Selecting the right finish depends on your deck material and desired look:
- Stains: Penetrating stains offer color and protection. Choose from clear, semi-transparent, or solid stains.
- Sealants: Clear sealants provide a protective layer without changing the wood’s color.
- Combination Products: Some products combine stain and sealant for convenience.
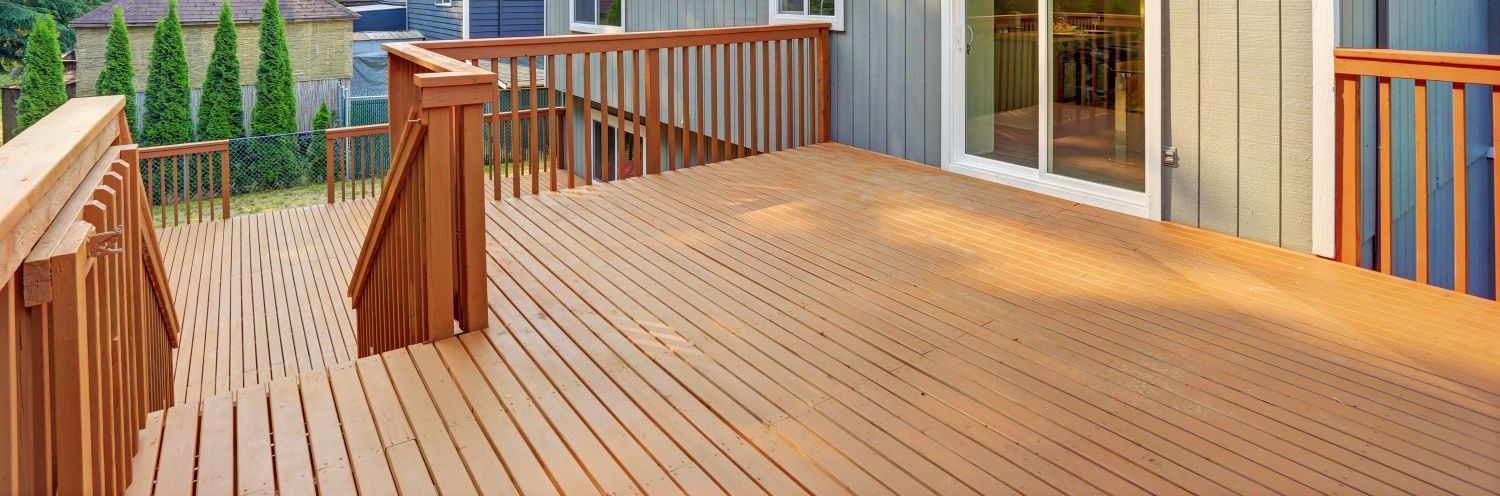
Step 7: Apply the Finish
Follow these steps for a professional-looking finish:
- Stir the Product: Ensure even color and consistency by stirring the stain or sealant well.
- Use the Right Tools: A brush, roller, or sprayer can be used. Brushes and rollers are great for detailed work, while sprayers are good for large areas.
- Apply Evenly: Work in small sections, applying a thin, even coat. Avoid pooling or dripping.
- Follow the Grain: Apply with the grain for a natural look.
Let the first coat dry completely before deciding if a second coat is necessary.
Step 8: Let It Dry
After applying the finish, let your deck dry for the time specified by the manufacturer. This could range from 24 to 48 hours. Ensure the deck is not used during this period to allow the finish to cure properly.
Step 9: Maintain Your Deck
To keep your deck looking great:
- Regular Cleaning: Sweep and wash your deck regularly to prevent dirt buildup.
- Inspect Annually: Check for damage or wear annually and address issues promptly.
- Reapply Finish: Depending on the finish used, you may need to reapply every few years.
Why Choose Deck and Fence London?
Deck and Fence London offers professional deck refinishing services tailored to your needs. Our team of experts uses high-quality materials and proven techniques to ensure your deck looks its best and lasts for years. Contact us today for a consultation and bring new life to your outdoor space.
By following these steps and maintaining your deck, you can enjoy a beautiful, durable surface that enhances your home’s outdoor appeal. If you need assistance, don’t hesitate to reach out to the professionals at Deck and Fence London.